Lydia Vimala

Makeup products + tutorial

Category: Tutorials

So there has been requests about a new makeup tutorial and what makeup products I use (・ω・) I decided to combine these two requests in one post, but with more focus on my products since I quite recently made a tutorial that is almost the same as this one. Only a few changes in the tutorial since I have bought some new products. Head over to my usual makeup routine for a more detailed post ! Now, on to the tutorial + introduction of my makeup products▼
 
1. I start with applying my Precious Mineral, Bright Fit BB Cream from Etude House on my blemishes and dark areas around the face and blend it out with a foundation brush from H&M.
 
2. Thereafter I use my eyebrow pencil in light brown, also from H&M, to contour my nose, because fuck logic and use whatever you have lol . . .
 
3. And for my eyebrows I use a dark brown eyebrow pencil that I got from my friend. He bought it from Ebay so just search "eyebrow pen gold leopard" and you will find it d(⌒o⌒)
 
4. Next, I curl my lashes before I apply anything on my eyes to prevent smudged eye makeup. I think the curler was from H&M, if I remember correctly.
 
5. Now to the third eyebrow pencil; dark brown from H&M. This one I use to shade around my eyes to create a deeper eyelid crease and bigger illusion of my eyes.
 
6. Shit, almost forgot highlightning ! I am using H&Ms white eyeliner pencil to highlight my eyebrow bones, nose bridge and the inner corners of my eyes.
 
7. For my cheeks I am using some random blusher that I bought from Thailand, named Belenra Make Up Artist.
 
8. MACs Prep + Prime powder is a new product of mine actually. I apply a very light layer of this on my whole face with an Isa Dora brush to prevent my face from looking oily/glossy.
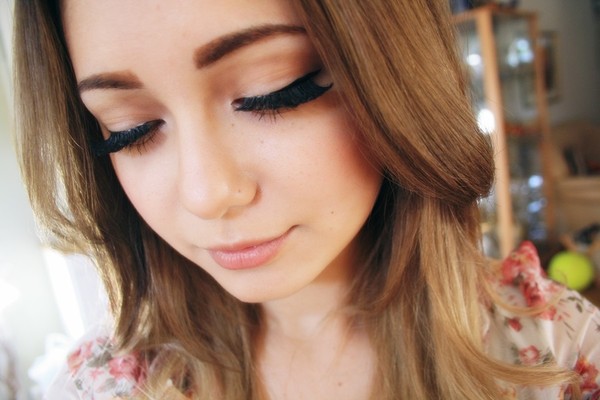
 
9. Time for falselashes  For my upper lashes I have combined two different lashes to create a more dramatic look. I am using Diamond Lash Volume series #1 Sexy and a another pair that I do not remember the name of. But they look like a smaller version of Diamond Lash Lady Glamorous series #2 Cat.
 
10. For lower lashes I have cut small pieces from a pair that are bought from an Ebay seller; Starangle88, model 047. 
 
11. Since I only use false lower lashes on the outer corner of my eyes, I apply mascara on my real lower lashes. I can not remember the name of the mascara because the name has faded away. 
 
12. To finish this makeup look, use a liquid eyeliner pencil to draw a "wing" and mark your inner eye corner from where the false lashes ends. I love this new eyeliner of mine, by the way  Mistline Super Black.
 
 
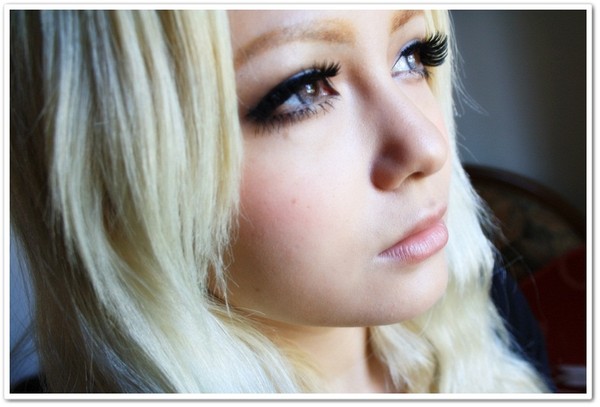
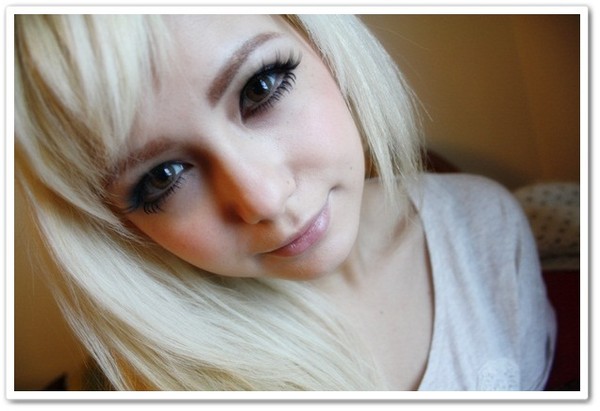
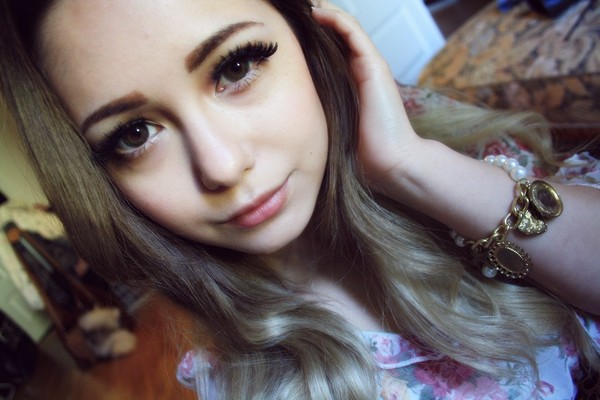
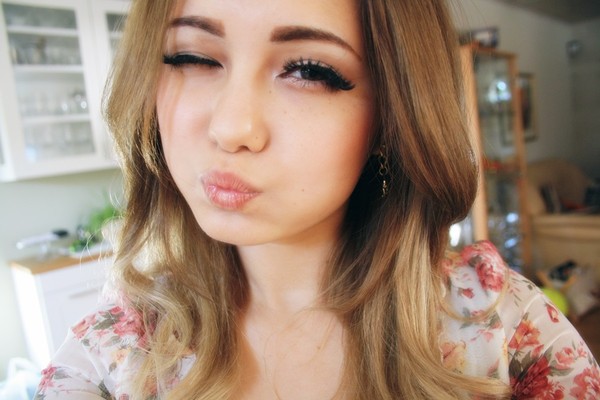
And the finish look~
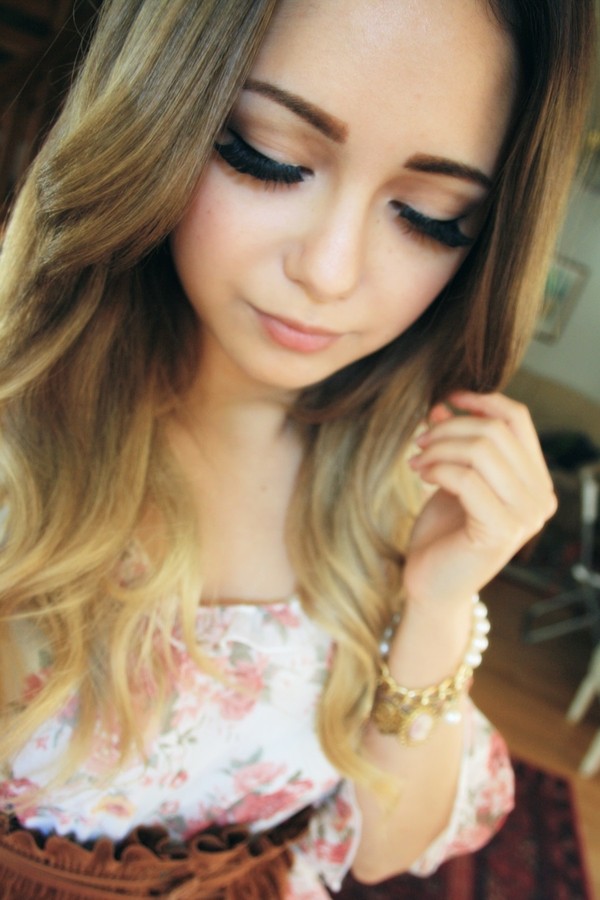
Random picture of my ombre hair

My usual makeup routine

Category: Tutorials

So, a makeup tutorial was requested (っ´∀`)っ I was going in to town a few days ago and while I was doing my makeup I took some pictures to show you how I usually do my makeup nowadays. (Except for when I am at work or staying at home, lol) There has also been an interest in my products that I use, but I will post about them in another entry. Well, here goes nothing 
 
1. Before applying any makeup on I start with putting my circle lenses on so that I would not mess up anything. Thereafter I apply BB cream on blemishes and "dark" places such as under my eyes etc. and blend it out with a foundation brush.
 
2. Since I am an independent black woman that pays my own bills and shit, I am trying to be as creative as much as possible with the things that I have. In this case, I am using an old eyebrow pencil from when I had darker hair as a contouring pen for my nose. It is light brown so it fits perfectly for contouring ! And, of course, blend it out~
 
3. Next step is to highlight the nose. I use my white eyeliner for this because it is easy to be precise with it and also to blend it out.
 
4. And after the contouring and highlighting I use my compact powder all over my face to make it look more natural.
 
5. Now on to the brows ! Naturally I have very thick and dark eyebrows so to make it fit with my blonde hair I trim them and then I use Dolly Winks eyebrow pencil, #1 Honey brown, to shape my brows. My eyebrows are naturally uneven so thanks to eyebrow pencils I can even them out, lol.
 
6. And now it is time to highlight the eyes and browbones. Again, I use my white eyeliner and then blend it out~
 
7. Even if I have double eyelids I like to shade my eyes so it looks like it "pops" more. Here I use yet another eyebrow pencil, but with a darker brown color. Please do blend this out or else you will look simply terrible.
 
8. Finally~! I have an eyelash curler again !! Curl your lashes, especially if you have straight lashes, so it will blend in with your fake eyelashes. And as I mentioned earlier, I have dark eyebrows so I lighten them up by using Dolly Winks eyebrow mascara #1 Milktea brown.
 
9. Time to line your eyes ! I use a black liquid eyeliner pen on my upper lids so it gives a more define look.
 
10. Before applying the fake lashes I use a black eyeliner pen to shade my lower lashes a bit more. But as you can see it is very blended out, no define lines. 
 
11. Apply upper and lower lashes~!
 
12. Now on to the last steps for this makeup. Apply black mascara on your real lower lashes where there is no fake lashes. I like to just use fake lower lashes on the outer corners because my real lower lashes are pretty long on the inner corners so, no need for fakeness ! And then last, but not least, I use a bright pink blush to finish off this look. 
 
 
There you go~! This is how I usually do my makeup (´▽`) If you have any other requests then do tell. I will try my best to fulfill them in the future 

Oslo Meetup - Makeup tutorial

Category: Tutorials

Finally~! I managed to do a makeup tutorial of my look on the first day of the Oslo meetup. This makeup is pretty easy and if you, as I, find it very annoying to carry around your eyeshadow palette like these 
 
 
... then rest assured ! I do not use any eyeshadow for this look, but that does not mean that you would not be able to create shades. Let us begin the tutorial \(≧∇≦)/
 
1. I like to begin with using a BB cream on the dark places/blemishes on my face and finish off with a foundation powder all over the face. Thereafter I use a light brown eyebrow pencil to shape my brows.
 
2. With the same light brown eyebrow pencil, I contour my nose on the sides to create a more define and smaller nose. And blend it out.
 
3. No need for the light eyebrow pencil anymore so, now it is time to make the brows lighter(if you are unnaturally blonde and have dark eyebrows). I use Dolly Winks eyebrow mascara #1 Milktea Brown.
 
4. Time for highlights ! I use a white eyeliner for this actually and I apply it on these parts(picture below). And of course blend it out afterwards.
 
5. I will now prove why I do not need eyeshadow for this look. Instead, I use a dark brown eyebrow pencil to contour my crease and draw a line on the "wing" and under my lower lashes. And then, blend it out so that you would not look like a 5 year old trying to use makeup.
 
6. Thereafter it is time for black eyeliner. On the upper lashes I like to use liquid eyeliner for a more define look. And I apply it as the picture shows below. Hereafter I usually curl my lashes, but since my eyelash curler is broken I could not do it for this tutorial.
 
7. And then it is time for eyeliner under the lower lashes. I use an eyeliner pencil here, because I want to create a more shadow-like line rather than a define line.
 
8. Now to the false lashes ! For this look I used Diamonds Lash - Glamorous Eye. I do not like this modell actually, because they are too hard and plastic-like compared to my other Diamond Lash set.
 
9. For the lower lashes I used Diamond Lash - Model Eyes. These lower lashes are divided into 5 pieces.
 
10. And now for the last step. Blush ! I use a pink blush for my cheeks and a darker blush/bronze powder on my jawline to create an illusion of a slimmer face.
 
 
Voila~! Hope you enjoyed my non-photoshoped face lol . . . SOMEONE GET ME PHOTOSHOP PLSKTHXBYE.